
What to Expect During Your Aircond Installation
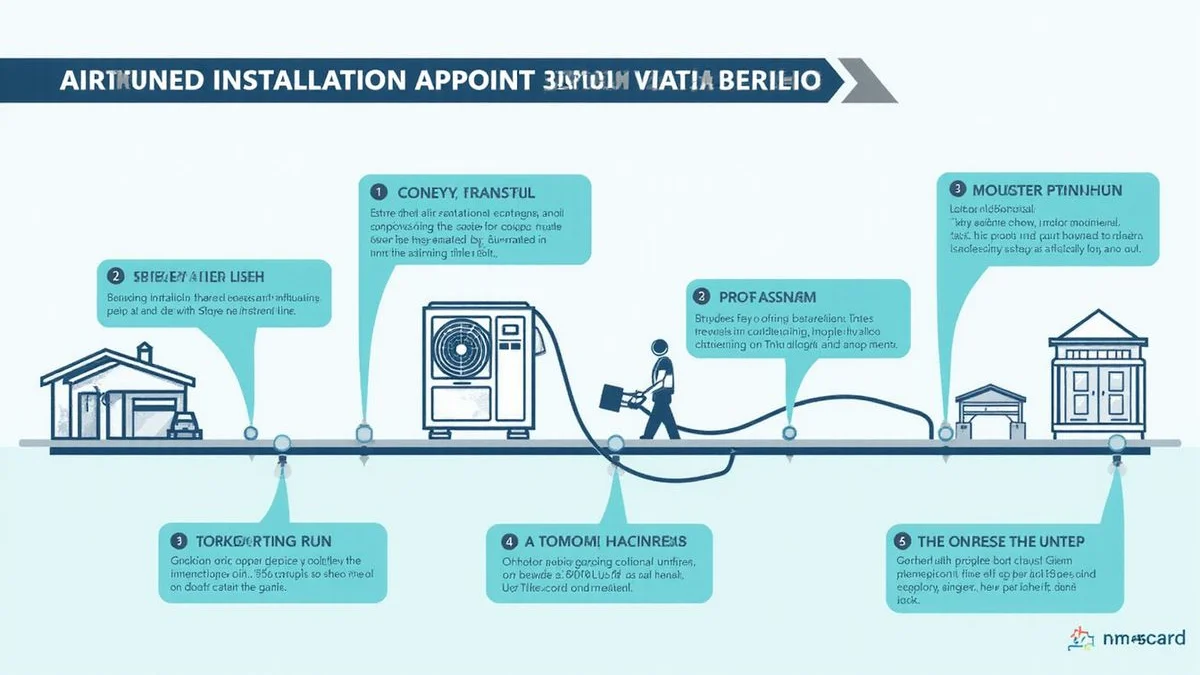
Pre-visit prep, site survey, piping route, mounting, vacuum and gas charge, commissioning — 3–5 hours for a single unit. Here's what happens.
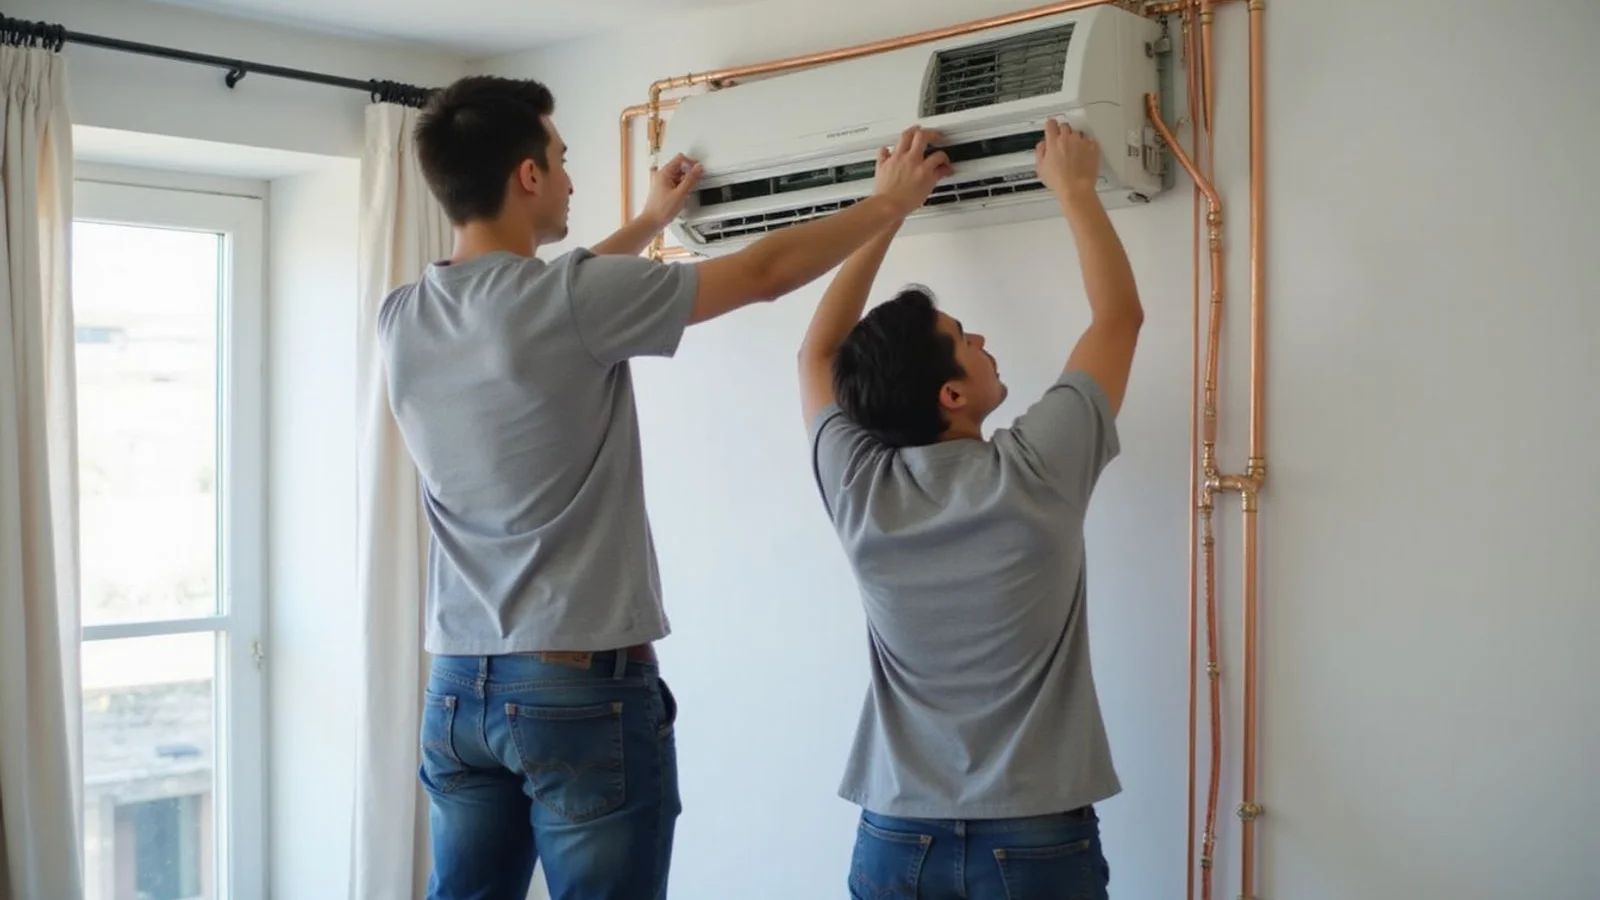
You know how disruptive home improvement projects can feel. We understand that having technicians in your space is a break from your routine. A clear understanding of the aircond installation process makes the entire day run smoother.
A proper installation day is a focused three to five hour project.
Let’s walk through exactly what happens, from the moment our van parks to the second we hand over the remote. For scheduling details, you can view our aircond installation service.
Pre-visit prep: what to do before we arrive
Preparing the space and handling condo approvals beforehand guarantees an on-time start. A few simple steps make the day significantly smoother for everyone.
We recommend handling the paperwork a few days early. Condo management offices in Petaling Jaya typically restrict contractor working hours to between 9:00 AM and 5:00 PM on weekdays. Our team needs to maximize that window.
Here is a short checklist to prepare for the appointment:
- Clear the install wall: Move any furniture, pictures, or shelves within one metre of the indoor unit mounting spot.
- Confirm parking access: Let the guards know where the van can park to unload. Outdoor units weigh between 30 and 50 kilogrammes, so a close approach is essential.
- Identify power sources: Locate your Distribution Board (DB) and check for a dedicated 15A or 20A Miniature Circuit Breaker (MCB). We can coordinate with a certified electrician if a new circuit is necessary.
- Sort condo paperwork: Ensure your management office approves the work permits and any required deposits are paid. We usually handle this application phase in advance, which you can read about in our condo install guide.
Step 1: Site survey and sign-off (20 to 30 minutes)
The first action we take on arrival is a complete site survey to verify the plan. This ensures no surprises pop up once the drilling starts.
We begin by inspecting the physical space against the agreed quote. The primary goal is confirming the exact placement for optimal cooling.
- Verify specifications: The horsepower and brand must match your order perfectly.
- Indoor unit positioning: The Energy Commission advises leaving at least 15 centimetres of clearance from the ceiling for proper airflow.
- Piping route mapping: Standard packages usually cover up to 10 feet of back-to-back copper piping. The cleanest and shortest route through a balcony, service yard, or external wall chase is always the best choice.
- Outdoor compressor placement: Finding the right spot on the ledge, balcony floor, or ground pad prevents noise issues later.
- Pricing confirmation: Any necessary deviations from the initial WhatsApp quote are paused and discussed.
You sign off on the exact positions before our technicians drill a single hole.
Step 2: Mounting (45 to 60 minutes)
Mounting secures both the indoor blower and the heavy outdoor compressor. This phase requires precision levelling and heavy-duty anchoring.
Our installation experts focus heavily on structural stability during this step. A poorly levelled indoor unit will eventually leak water inside your room.
Specialized tools prevent unnecessary damage to your property:
- Indoor bracket installation: The mounting plate is drilled, perfectly levelled, and anchored into the masonry.
- Wall penetration: A 65 millimetre diamond core drill bit creates a clean hole for the piping. This technique prevents the ugly plaster cracking caused by standard hammer drills.
- Indoor unit attachment: The blower is lifted, clipped securely to the bracket, and connected to the main drainage hose.
- Outdoor unit anchoring: The heavy compressor is positioned on a powder-coated Mild Steel bracket. This specific bracket type resists rust in our humid Malaysian climate. We also install anti-vibration rubber feet to minimize running noise.
Step 3: Piping run (60 to 90 minutes)
The copper piping run is the longest and most physically demanding phase of the job. Proper insulation and routing dictate how efficiently the system will perform.
Quality varies wildly across the industry during this specific step. Sloppy pipe work is the most common cause of bad installations that require fixing later.
We strictly follow manufacturer thickness guidelines to ensure safety.
- Copper pipe preparation: The lines are measured, cut, and flared. We use 0.61 millimetre minimum thickness copper piping to safely handle high-pressure R32 refrigerant.
- Insulation wrapping: Heavy-duty Superlon insulation prevents condensation from forming on the pipes and dripping onto your floors.
- Clean routing: Pipes run neatly along the service yard or balcony wall. Routing across living-space ceilings is strictly avoided.
- Condensate drainage: The drain hose requires a continuous downward gradient so gravity pulls the water naturally outward.
- Wiring and sealing: A protective conduit shields the power and communication cables. Sealing the wall penetration tightly keeps pests and hot air out.
Step 4: Vacuum and gas charge (30 minutes)
Vacuuming the refrigerant lines removes all moisture and air before releasing the gas. This is a technically critical step that cheap installers frequently skip.
An improperly vacuumed system is a ticking time bomb for your air conditioner. Moisture trapped in the lines turns to ice at the expansion valve and blocks the flow of refrigerant. We consider this a mandatory procedure.
Major brands like Daikin and Panasonic actually void their compressor warranties if this step is skipped. Here is how this phase protects your investment:
- Gauge attachment: A professional manifold gauge connects directly to the outdoor unit service ports.
- Deep vacuuming: A specialized vacuum pump runs for 20 to 30 minutes to pull the system pressure down below 500 microns.
- Refrigerant release: The valves on the outdoor compressor are opened to fill the new clean lines with gas.
- Pressure verification: Operating pressure is measured against the exact manufacturer specifications for R32 gas.
This careful procedure ensures the compressor does not fail prematurely within the first two or three years.
Step 5: Commissioning and walkthrough (15 to 20 minutes)
The final step involves powering up the system and testing its cooling performance. Proper testing proves the installation was successful.
Our technicians will power on the dedicated circuit at the DB board to begin.
- Cooling test: The machine runs for a full 15 minutes in maximum cooling mode.
- Performance measurement: A digital thermometer checks the temperature delta at the supply louvre. A healthy difference between intake and output air is exactly 8 to 11 degrees Celsius.
- Feature verification: Every remote control function is tested, including the fan speed, dry mode, and swing louvres.
- Owner walkthrough: You receive a quick tutorial on the remote controls and recommended temperature settings. We also advise cleaning the internal filters every two weeks to handle local Malaysian dust and haze.
Payment is only collected after this complete walkthrough, with the cold air flowing and you fully satisfied.
What to expect afterwards
Running the new system continuously for the first few days helps you spot any immediate issues. You might notice a faint factory residue smell, which clears up within a week. Our comprehensive one-year workmanship warranty covers any installation-related issues.
Remember to register your manufacturer warranty online within the first 14 days to activate your parts coverage.
For a complete financial breakdown, see the installation cost in Malaysia. Ready to secure a booking? Simply WhatsApp us with your room measurements and details.
Frequently asked questions
How long does aircond installation take? +
3–5 hours per wall unit including commissioning. Longer for multi-unit installs or condo installs with paperwork. Cassette units add 1–2 hours for ceiling-mount work.
Do I need to be home the whole time? +
Just at the start (site survey sign-off) and end (commissioning walkthrough). Many of our repeat customers leave us to it during the middle phase.
What if my walls don't fit a standard bracket? +
Discovered during the pre-install site survey. We adjust position or use alternative brackets before any drilling. No surprise re-quotes mid-install.
Ready to book this work with AMg?
5-star Google rating, tidy workmanship, transparent pricing. WhatsApp us for a free quote — same-day response, 8 AM – 6 PM daily.