
What Actually Happens During an Aircond Chemical Overhaul
Full disassembly, coil soak, pressure rinse, drain pan flush, reassembly, gas check — here's the complete chemical overhaul process.
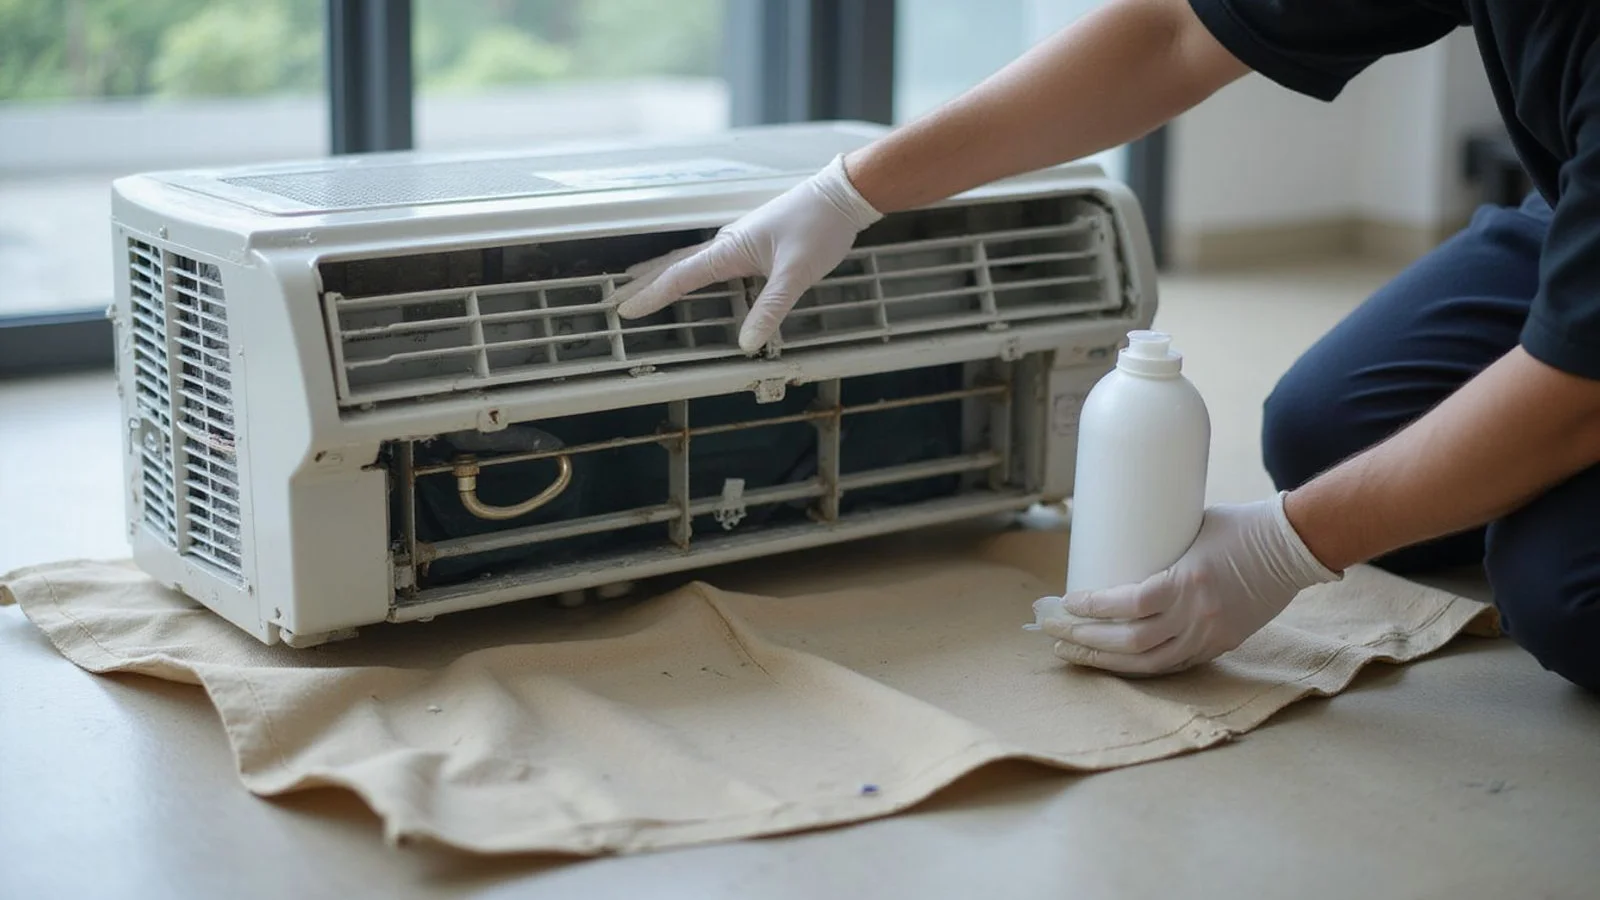
We regularly see units that are practically gasping for air. This happens because standard cleaning simply cannot reach the deep organic buildup that thrives in our humid Petaling Jaya climate.
Our aircond chemical overhaul process is the absolute deepest tier of cleaning available for your unit. The procedure involves full disassembly, individual chemical treatment of every component, and a strict pressure verification.
We consider this intensive 2 to 3-hour job the correct choice for an aircond untouched for over two years.
A quick walk-through of our aircond chemical wash and overhaul service will explain exactly what happens chemical wash aircond packages compare to this deeper clean.
Our guide breaks down this chemical overhaul step by step so you know what to expect.
Step 1: Site setup and containment for the aircond chemical overhaul process (15 minutes)
We start by protecting your home before a single drop of water or chemical comes out. This preparation takes about 15 minutes.
Our containment and safety checklist includes:
- Laying furniture covers below the unit and over any nearby items.
- Fitting a heavy-duty canvas wash bag securely around the indoor unit body.
- Sealing the hood tightly at the top and funneling the drain spout into a collection bucket.
- Isolating the power at the main AC switch outside the room.
We confirm absolute zero voltage with a professional multimeter. A quick wipe of the exterior surfaces establishes a clean baseline before the heavy work begins.
Our team explains the difference between this process and a standard chemical wash in our detailed comparison guide.
Step 2: Disassembly (30-45 minutes)
We take the entire indoor unit apart during this 30 to 45-minute phase. This complete teardown is the defining difference between an overhaul and a basic service.
Our standard wash treats the coil right on the wall. The overhaul requires extracting the internal components completely.
We safely extract these specific parts for individual cleaning:
- Front cover and air filter.
- Display panel and remote receiver (detached carefully due to wiring).
- Blower wheel (removed by loosening the drive shaft).
- Drain pan (lifted out after disconnecting the main hose).
Each component goes onto a protective sheet in the precise order for later reassembly. Our work leaves the bare evaporator coil fully exposed for direct chemical contact.
Step 3: Chemical treatment (15-20 minutes contact time)
We apply the specialized chemistry directly to the exposed components. This treatment phase requires about 15 to 20 minutes of contact time.
Our technicians use specific solutions depending on the type of buildup.
| Component | Chemical Type | Action |
|---|---|---|
| Evaporator Fins | Phosphoric Coil Cleaner | Dissolves hardened scale and mineral deposits. |
| Blower Wheel & Drain Pan | Alkaline Cleaner (e.g., PS901) | Breaks down thick organic biofilm and odors. |
The chemical sits for up to 15 minutes to dissolve the stubborn debris. We follow up with a precise pressure rinse using neutral-pH water.
The equipment pressure is strictly regulated to around 85 PSI. Our team avoids using anything stronger, like a 1300 PSI power washer, to prevent flattening the delicate aluminum fins.
The wash bag catches all the dissolved gunk and flushed water safely. We guarantee that no stray dirty water will ever reach your bedroom floor.
Step 4: Drain pan and hose flush (10 minutes)
We give the drainage system its own dedicated treatment. Cheap service packages often skip this critical step entirely.
Our team physically scrubs the removed drain pan with the alkaline solution to eliminate clinging slime. The technician then flushes the main drain hose with cleaner and water from both ends.
Industry insight: Sludge blockages in the drain hose are the number one cause of indoor water leaks in Petaling Jaya. A two-way flush is the most reliable way to clear them completely.
We perform this two-way flush to guarantee maximum flow capacity. A sluggish or noisy drain pump in a cassette unit will become obvious right now.
Our standard overhaul package covers the inspection, rather than the replacement, of the drain pump itself. A failing pump will trigger a separate replacement quote.
Step 5: Reassembly, vacuum, pressure verify (30 minutes)
We reverse the disassembly steps with rigorous checks along the way. This phase takes about 30 minutes to complete.
Our technicians refit the drain pan and reconnect the hose. The team immediately tests the drainage flow by pouring water directly into the pan.
We carefully reseat and balance the blower wheel. An unbalanced wheel creates annoying vibrations and significantly shortens the lifespan of the motor.
Our next step is reconnecting the display panel and verifying its functions. The front cover then snaps back into place with all clips securely engaged.
Final Performance Testing
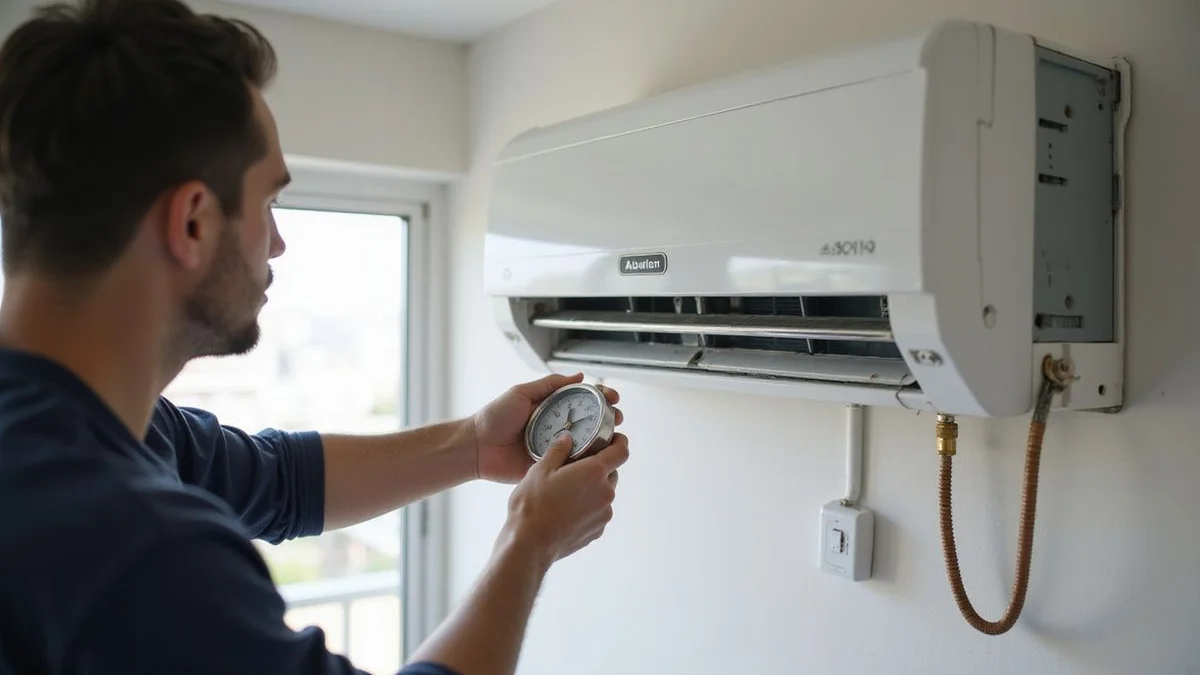
We attach a manifold gauge to the outdoor compressor to check the gas pressure. R32 refrigerant should read around 300 PSI, while R410A units need to hit roughly 400 PSI.
Our final quality check involves measuring the temperature delta at the supply louver after 10 minutes of running. A healthy reading shows a difference of 8 to 11°C between the return and supply air.
Step 6: Clean-up and walkthrough (15 minutes)
We finish up by leaving your space exactly as we found it. Customers consistently mention this clean-up phase in our positive reviews.
Our team drains the wash bag before folding it and removing it from your home. The technicians lift the protective furniture covers and inspect everything underneath.
We wipe down the floor and vacuum the immediate area if necessary. A final walk-through allows us to explain exactly what we found inside your machine.
Our checklist for this wrap-up chat includes:
- Component health alerts (like a weakening capacitor).
- Maintenance scheduling for the next six months.
- Energy efficiency tips.
TNB advises setting your freshly cleaned unit to 24°C for optimal savings. This simple temperature adjustment saves you up to 10% on electricity for every degree you raise the thermostat.
We process payment only on completion. Your sign-off is required after you inspect the unit and confirm the cooling performance.
Our strict transparency policy ensures you never face surprise charges after the team leaves. The 30-day workmanship warranty activates the moment the job is done.
We are ready to help if you suspect your system needs this aircond chemical overhaul process. Please WhatsApp us a photo of your indoor unit’s louvers.
Our support staff will confirm if an overhaul is the right tier and send a written quote before booking.
Frequently asked questions
How long does a full overhaul take? +
2–3 hours per wall unit. 3–4 hours per cassette unit. Plan a half-day if you have multiple units.
Do I need to be home during the overhaul? +
Helpful at the start (so we can walk through the access and confirm the scope) and at the end (final inspection). AMg's couple-team can work unsupervised in between if you've granted access — many of our repeat customers leave us to it.
Will the room be a mess afterwards? +
No — full clean-up is included. Reviewers consistently note the room is left cleaner than before. The wash bag, covers, and rinse bucket all leave with us.
Ready to book this work with AMg?
5-star Google rating, tidy workmanship, transparent pricing. WhatsApp us for a free quote — same-day response, 8 AM – 6 PM daily.